Using Docker to Create and Run a React Development Environment
Managing different versions of SDKs used to frustrate me. Each language has its own version management tool. Ruby has RVM or rbenv, Python uses pyenv or virtualenv, Java has SDKMAN, and so on. Once I started using Docker, I realized that I no longer needed to manage language versions directly on my development workstation. I now strive to install all my development dependencies in Docker containers.
However, it may not always be straightforward to bootstrap a new project with Docker. This article explains how to create and run a new React project inside docker containers. I run Ubuntu via the Windows Subsystem for Linux (WSL) and Docker Desktop. For reference, here are my version numbers:
- Windows version 10.0.19044.2965
- Ubuntu 22.04.2 via WSL version 1.2.5.0
- Docker Desktop 4.14.0
Creating a React app inside a Docker container
Our first goal is to create a new React app by running create-react-app inside a Docker container. Here’s a Docker command to start a shell session on a node container:
docker run --rm -v $(pwd):$(pwd) -w $(pwd) -it --user "$(id -u):$(id -g)" node:18-alpine sh
Let’s unpack those docker arguments one at a time. --rm ensures that the container is automatically removed when it exits. This is intended to be a one-time-user container, so removing it is appropriate. -v $(pwd):$(pwd) mounts the current working directory on the host system to the same location on the container. -w $(pwd) sets the current working directory for the container user. -it allows an interactive session to run on the container.
Inside a container, the default user is root. If root runs create-react-app, then the files generated by that command will be owned by root. --user "$(id -u):$(id -g)" runs the container as the current user on the host system. This argument is only required on Linux as Docker installations on macOS and Windows have workarounds for this issue.
Below is the result of the docker run command:
daviscale@host-system:~$ docker run --rm -v $(pwd):$(pwd) -w $(pwd) -it --user "$(id -u):$(id -g)" node:18-alpine
sh
Unable to find image 'node:18-alpine' locally
18-alpine: Pulling from library/node
f56be85fc22e: Pull complete
931b0e865bc2: Pull complete
60542df8b663: Pull complete
062e26bc2446: Pull complete
Digest: sha256:1ccc70acda680aa4ba47f53e7c40b2d4d6892de74817128e0662d32647dd7f4d
Status: Downloaded newer image for node:18-alpine
/home/daviscale $
Now, we can run npx create-react-app my-app on the container shell prompt:
/home/daviscale $ npx create-react-app my-app
Need to install the following packages:
  create-react-app@5.0.1
Ok to proceed? (y) y
After typing in “y”, we are presented with a couple progress bars and then a git exception:
Git repo not initialized Error: Command failed: git --version
    at checkExecSyncError (node:child_process:885:11)
    at execSync (node:child_process:957:15)
    at tryGitInit (/home/daviscale/my-app/node_modules/react-scripts/scripts/init.js:46:5)
    at module.exports (/home/daviscale/my-app/node_modules/react-scripts/scripts/init.js:276:7)
    at [eval]:3:14
    at Script.runInThisContext (node:vm:129:12)
    at Object.runInThisContext (node:vm:307:38)
    at node:internal/process/execution:79:19
    at [eval]-wrapper:6:22 {
  status: 127,
  signal: null,
  output: [ null, null, null ],
  pid: 84,
  stdout: null,
  stderr: null
}
This occurs because git is not installed on the container. It does not impact the creation of the app though, so it can be ignored. The create-react-app output ends with:
We suggest that you begin by typing:

  cd my-app
  npm start

Happy hacking!
npm notice
npm notice New minor version of npm available! 9.5.1 -> 9.6.6
npm notice Changelog: https://github.com/npm/cli/releases/tag/v9.6.6
npm notice Run npm install -g npm@9.6.6 to update!
npm notice
Let’s exit the container and verify that the react files are available on the host system:
daviscale@host-system:~$ ls -la my-app
total 732
drwxr-xr-x   5 daviscale daviscale   4096 May 13 19:25 .
drwxr-x---   5 daviscale daviscale   4096 May 13 19:20 ..
-rw-r--r--   1 daviscale daviscale    310 May 13 19:25 .gitignore
-rw-r--r--   1 daviscale daviscale   3359 May 13 19:25 README.md
drwxr-xr-x 828 daviscale daviscale  36864 May 13 19:26 node_modules
-rw-r--r--   1 daviscale daviscale 676105 May 13 19:26 package-lock.json
-rw-r--r--   1 daviscale daviscale    809 May 13 19:26 package.json
drwxr-xr-x   2 daviscale daviscale   4096 May 13 19:25 public
drwxr-xr-x   2 daviscale daviscale   4096 May 13 19:25 src
The app can be set up for version control now:
daviscale@host-system:~/my-app$ git init
daviscale@host-system:~/my-app$ # .gitignore needs to be added first so that node_modules/ is ignored
daviscale@host-system:~/my-app$ git add .gitignore
daviscale@host-system:~/my-app$ git commit -m "added .gitignore"
[main (root-commit) 8a52981] added .gitignore
 1 file changed, 23 insertions(+)
 create mode 100644 .gitignore
daviscale@host-system:~/my-app$ git add *
The following paths are ignored by one of your .gitignore files:
node_modules
hint: Use -f if you really want to add them.
hint: Turn this message off by running
hint: "git config advice.addIgnoredFile false"
daviscale@host-system:~/my-app$ git commit -m "added files generated by create-react-app"
Auto packing the repository in background for optimum performance.
See "git help gc" for manual housekeeping.
[main 6e5d840] added files generated by create-react-app
 17 files changed, 17609 insertions(+)
 create mode 100644 README.md
 create mode 100644 package-lock.json
 create mode 100644 package.json
 create mode 100644 public/favicon.ico
 create mode 100644 public/index.html
 create mode 100644 public/logo192.png
 create mode 100644 public/logo512.png
 create mode 100644 public/manifest.json
 create mode 100644 public/robots.txt
 create mode 100644 src/App.css
 create mode 100644 src/App.js
 create mode 100644 src/App.test.js
 create mode 100644 src/index.css
 create mode 100644 src/index.js
 create mode 100644 src/logo.svg
 create mode 100644 src/reportWebVitals.js
 create mode 100644 src/setupTests.js
Creating a Docker container to run the React app
We have our React’s app source files, but now we need a container to run the app. To achieve this, we need two files: Dockerfile and docker-compose.yml.
Dockerfile:
# Use the Active LTS (long-term support) version of Node.
# At the time of writing, it's node 18. alpine results in
# smaller image size
FROM node:18-alpine

# change the working directory on the container
WORKDIR /app

# copy all files to the container
COPY . .

# start the app
CMD [ "npm", "run", "start" ]
docker-compose.yml
services:
  my-app:
    build:
      context: .
      dockerfile: Dockerfile
    volumes:
      - .:/app # mount the current directory on the host system to /app on the container
    ports:
      - "3000:3000" # map port 3000 on the host to port 3000 on the container
Add these two files to the my-app base directory. Then, build and run the app by running docker-compose up:
daviscale@host-system:~/my-app$ docker-compose up
[+] Running 2/2
 ⠿ Network my-app_default     Created                                                                                           0.1s
 ⠿ Container my-app-my-app-1  Created                                                                                           0.3s
Attaching to my-app-my-app-1
my-app-my-app-1  |
my-app-my-app-1  | > my-app@0.1.0 start
my-app-my-app-1  | > react-scripts start
my-app-my-app-1  |
my-app-my-app-1  | (node:25) [DEP_WEBPACK_DEV_SERVER_ON_AFTER_SETUP_MIDDLEWARE] DeprecationWarning: 'onAfterSetupMiddleware' option is deprecated. Please use the 'setupMiddlewares' option.
my-app-my-app-1  | (Use `node --trace-deprecation ...` to show where the warning was created)
my-app-my-app-1  | (node:25) [DEP_WEBPACK_DEV_SERVER_ON_BEFORE_SETUP_MIDDLEWARE] DeprecationWarning: 'onBeforeSetupMiddleware' option is deprecated. Please use the 'setupMiddlewares' option.
my-app-my-app-1  | Starting the development server...
my-app-my-app-1  |
my-app-my-app-1  | Compiled successfully!
my-app-my-app-1  |
my-app-my-app-1  | You can now view my-app in the browser.
my-app-my-app-1  |
my-app-my-app-1  |   Local:            http://localhost:3000
my-app-my-app-1  |   On Your Network:  http://172.19.0.2:3000
my-app-my-app-1  |
my-app-my-app-1  | Note that the development build is not optimized.
my-app-my-app-1  | To create a production build, use npm run build.
my-app-my-app-1  |
my-app-my-app-1  | webpack compiled successfully
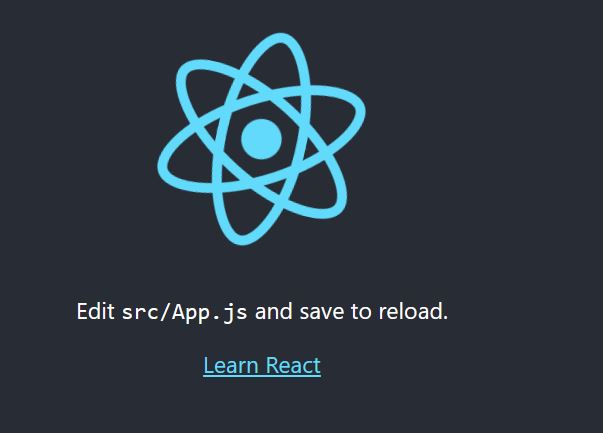
Visit http://localhost:3000 and verify that the default React page is shown:
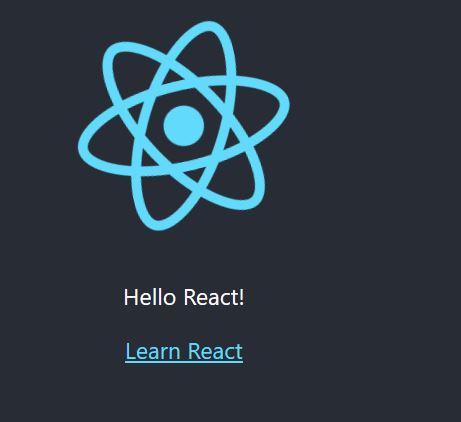
Now, make an update to src/App.js and verify that the development server automatically captures the change:
Congrats, you have now successfully set up a React development environment without installing any node dependencies directly to your system. If you have any questions or comments, open a GitHub issue in the repo for this blog.

